Unity Template for Importing Prototypes for 3D/VR Testing


Importing ProtoPie Prototypes into Unity for 3D and VR Testing
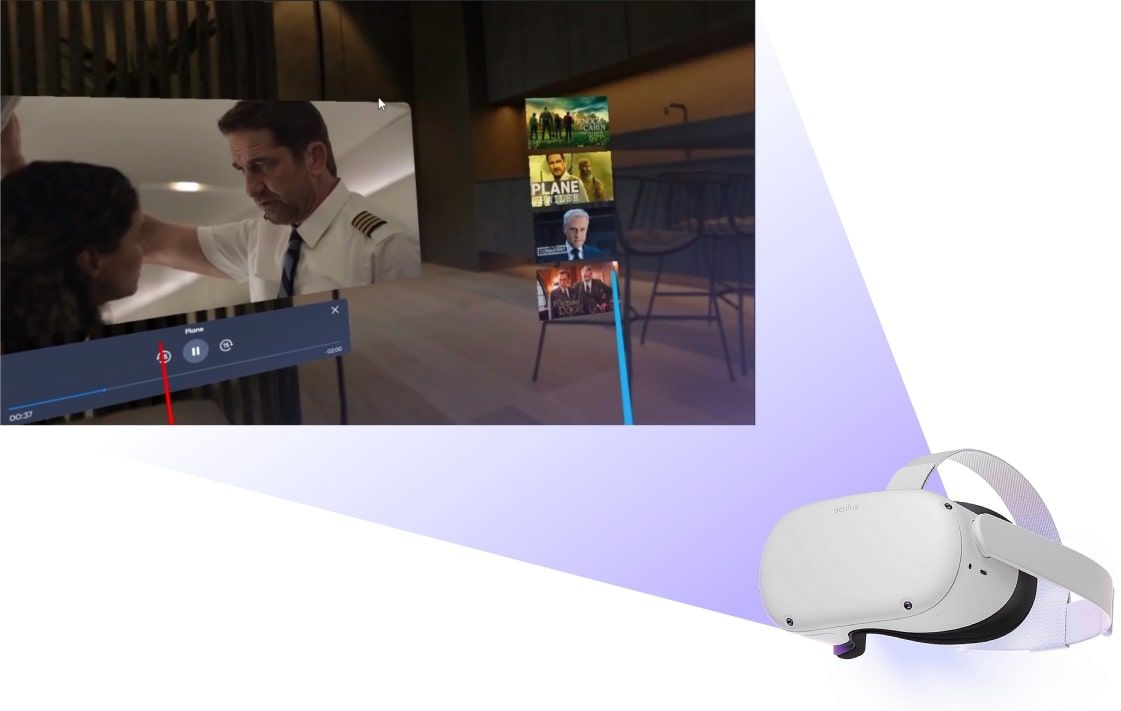
Welcome to the future of spatial design with high-fidelity prototypes made for 3D and VR environments! As a designer, you know that it's crucial to test and refine your prototypes in as many realistic scenarios as possible. With ProtoPie Connect, you can now seamlessly integrate with top-tier VR headsets, such as the Meta Quest (Oculus), and the recently unveiled Apple Vision Pro. This template ensures your designs achieve their full potential, even without any coding experience.
Getting Set Up
Install 3D WebView Plug-in in the Unity Template
- Download the Unity template from here.
- Download and install Unity on your laptop or PC. The template project in this video was tested with Unity 2020.3.28. So if you would like to test it, we recommend installing this version or any long-term support version that came after it.
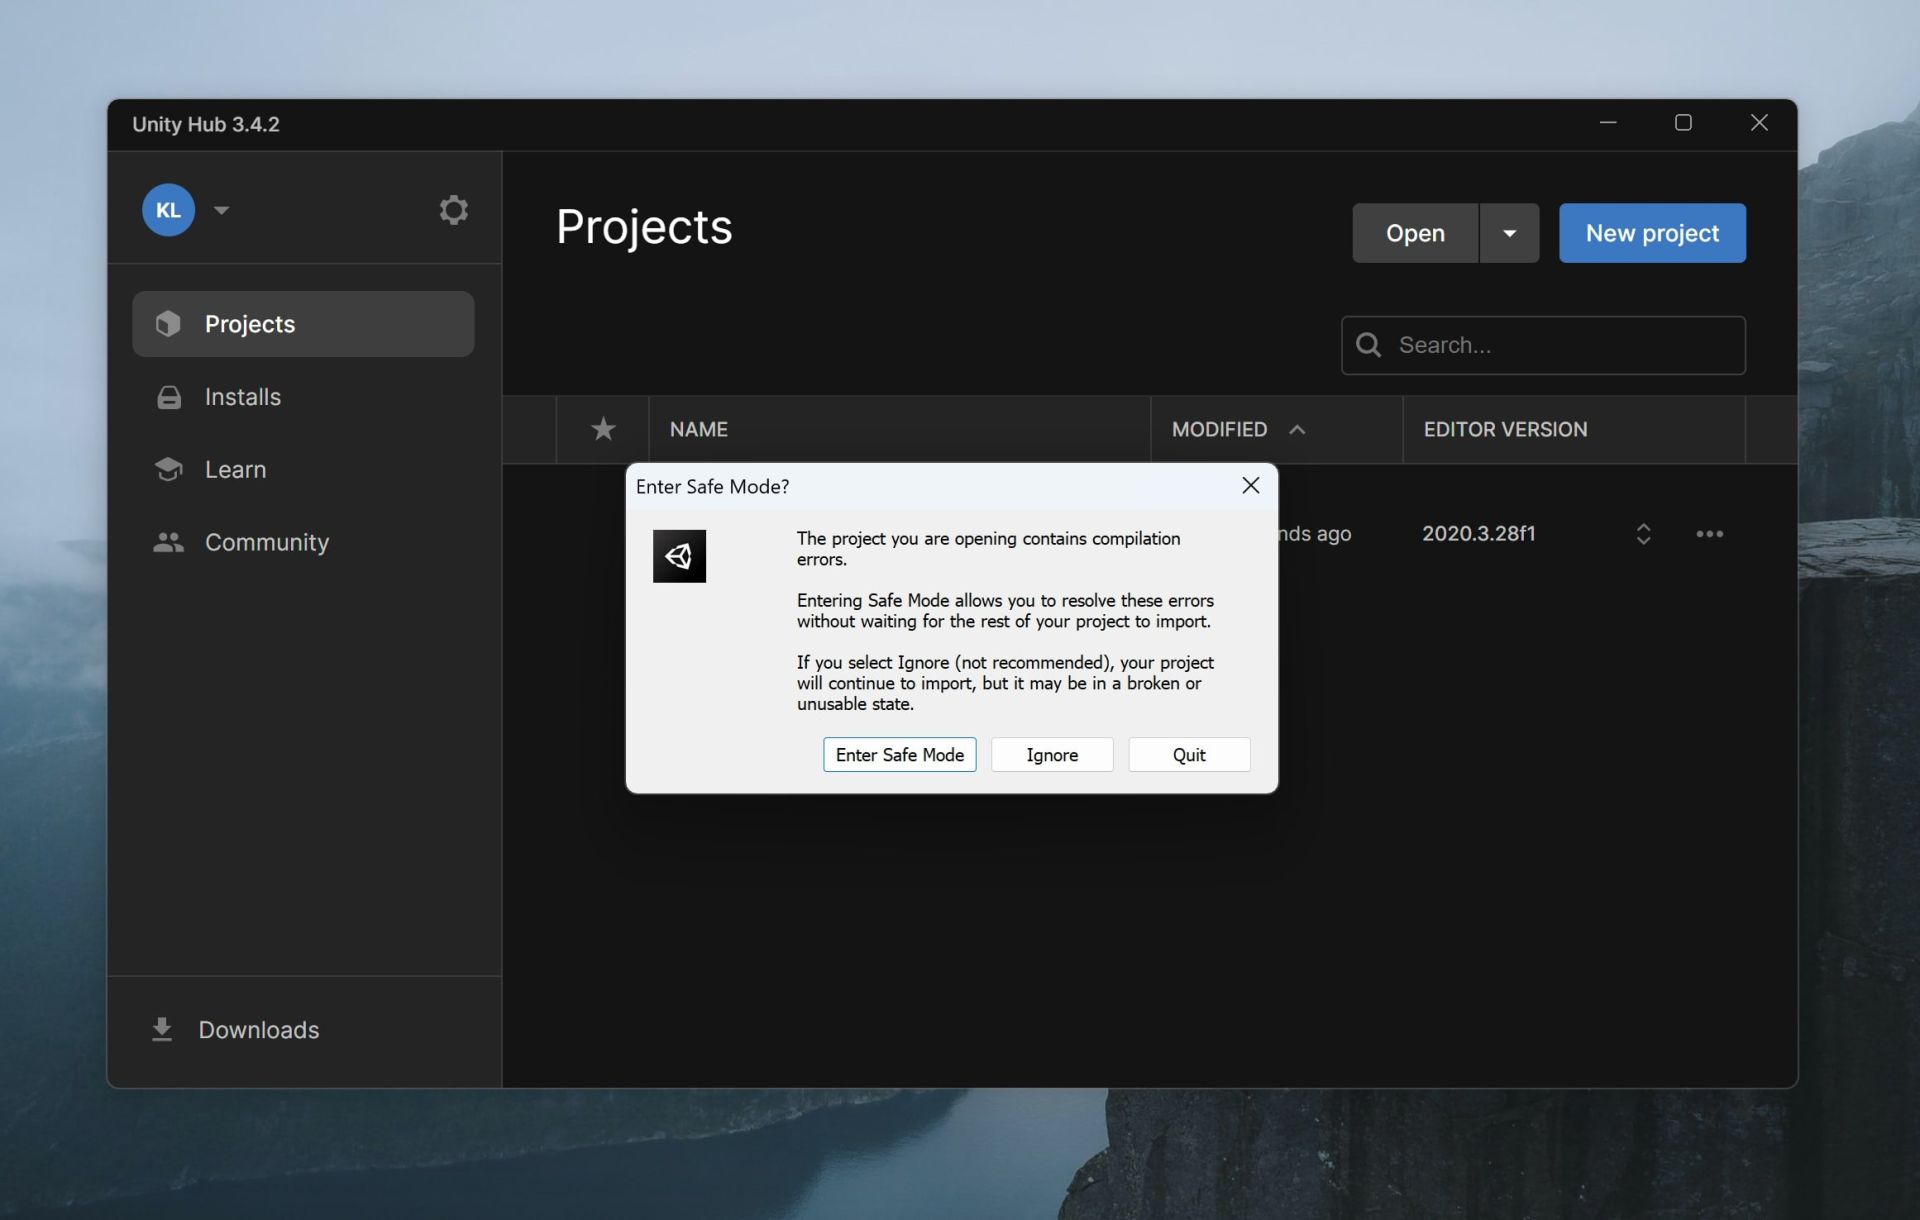
- Upon opening the template, a window will appear. You should select the "Ignore" option to proceed.
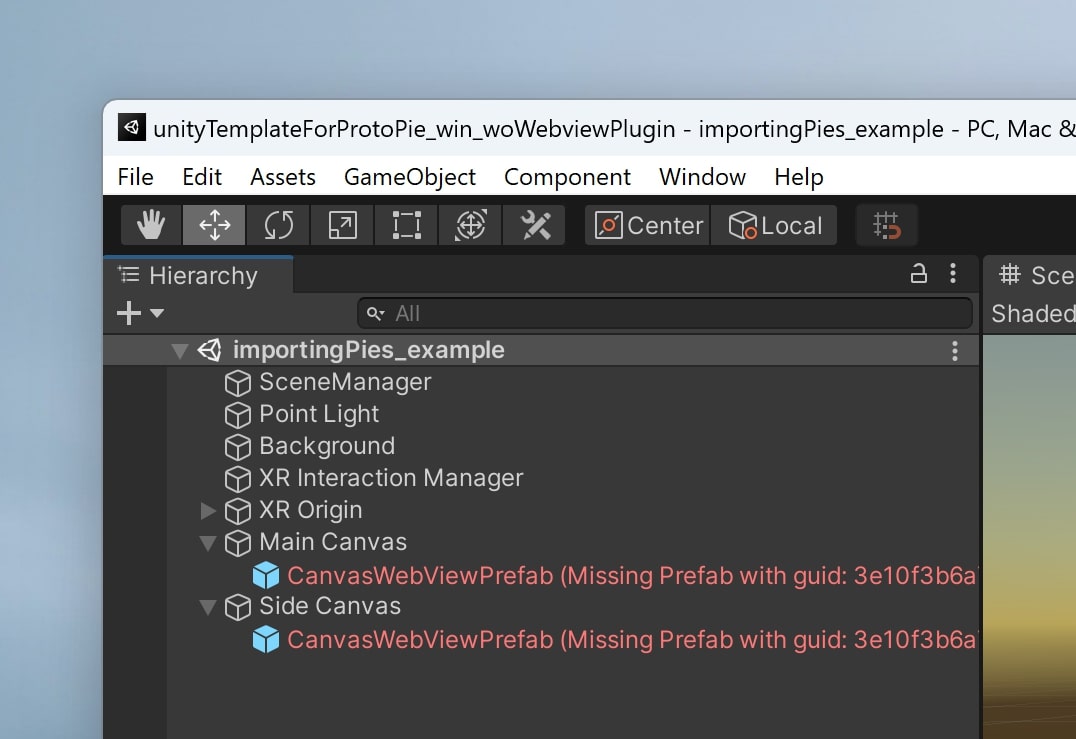
- Upon opening the template, you may notice that the CanvasWebViewPrefabs are missing from the project.
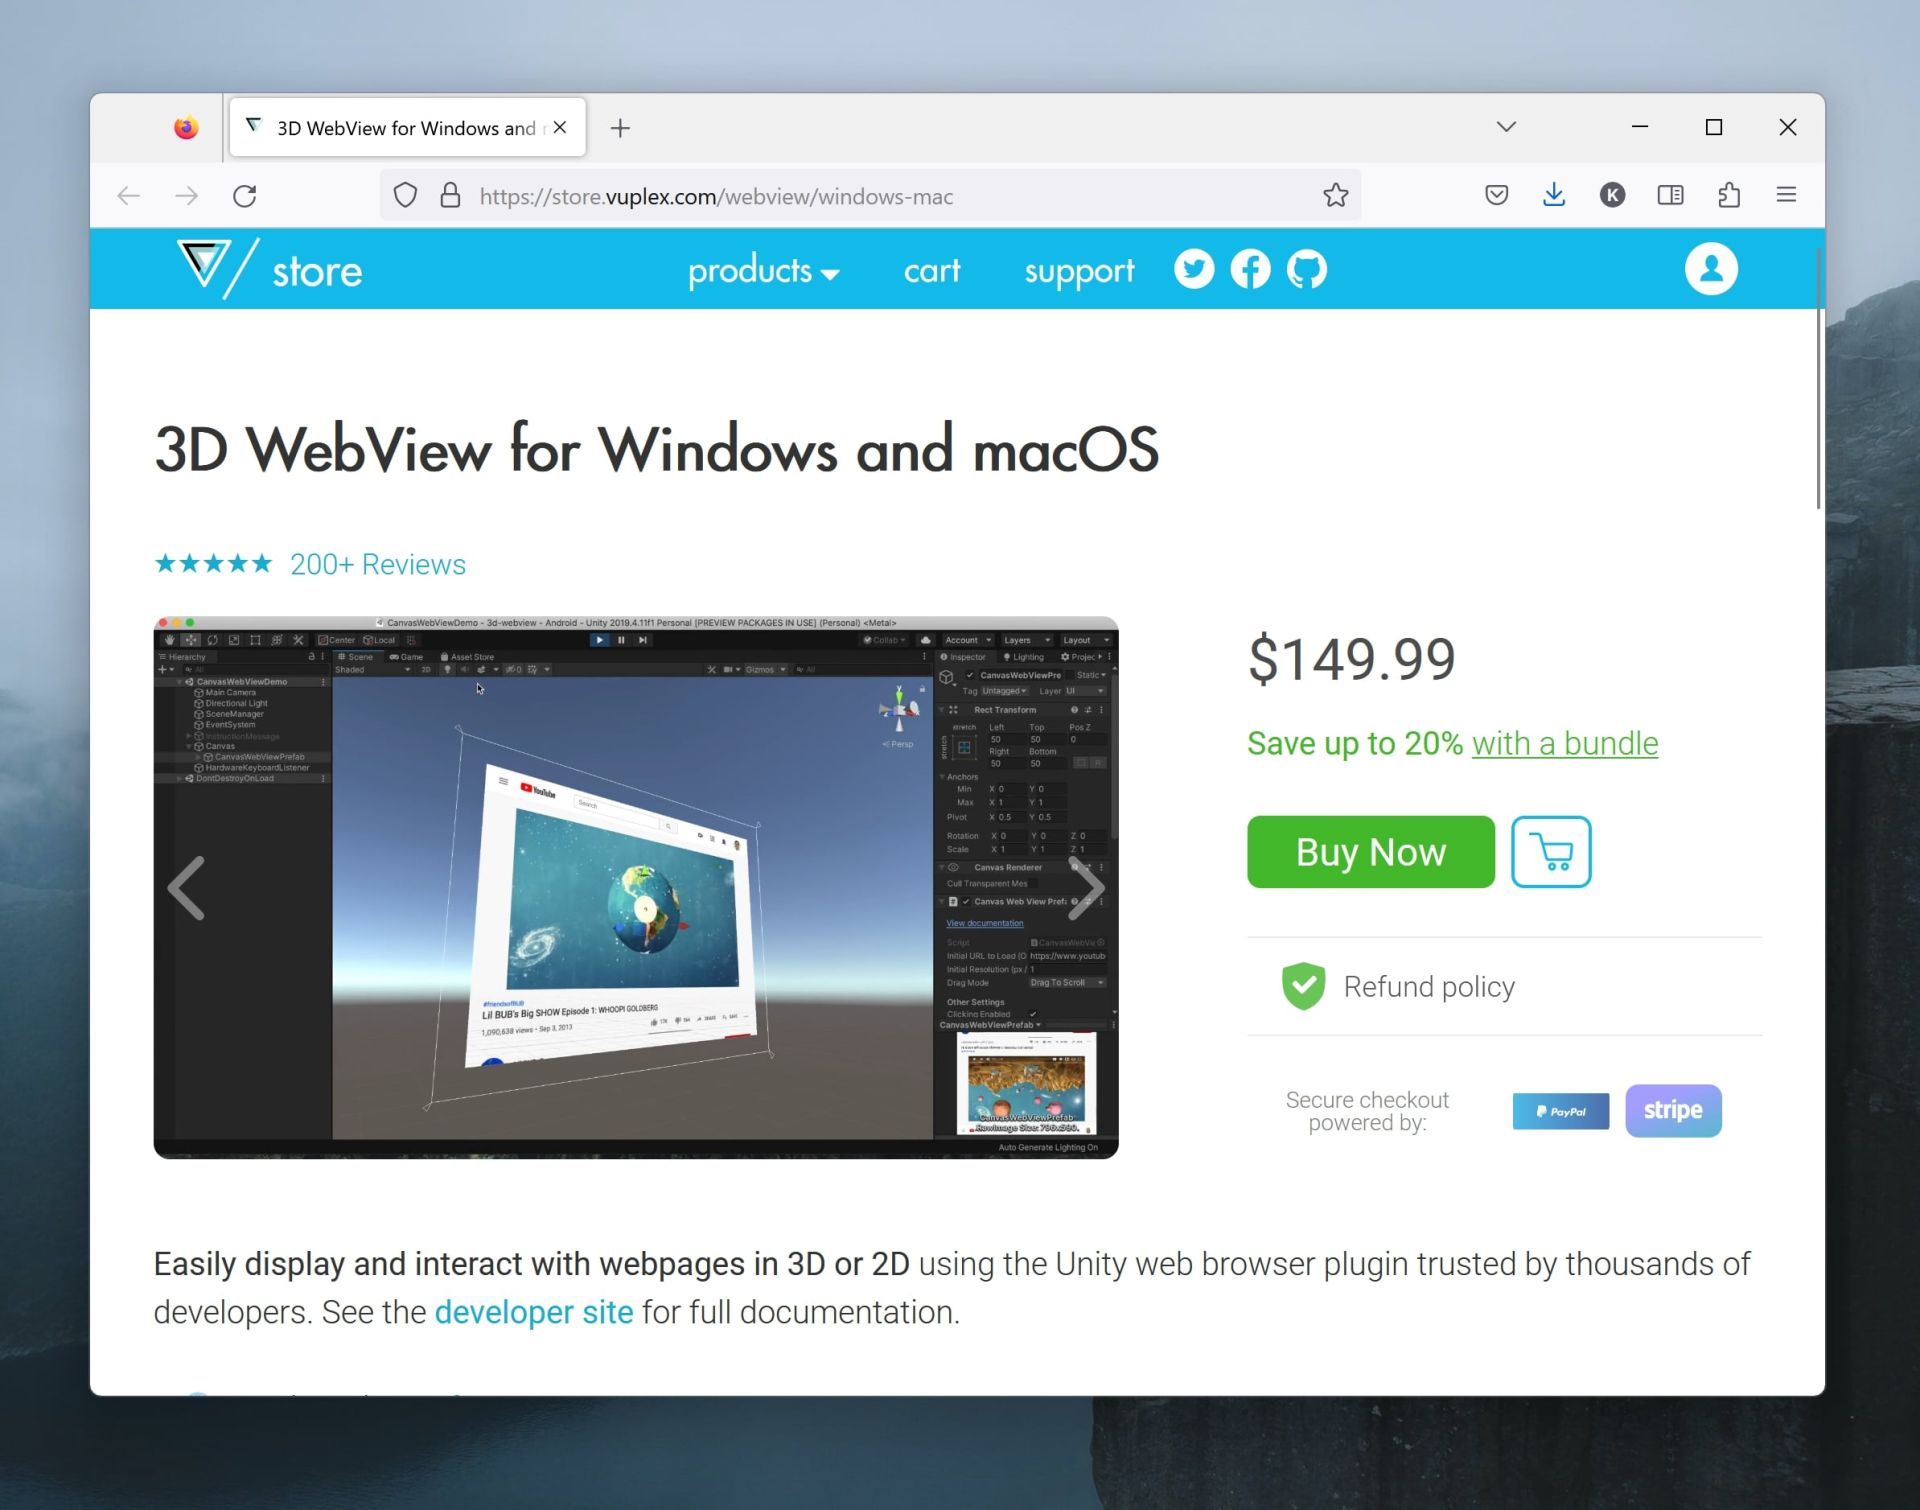
- Get the Vuplex 3D WebView for Windows and macOS plugin. This plugin allows for the embedding of web content in Unity.
- In Unity, go to Assets > Import Package > Custom Package.
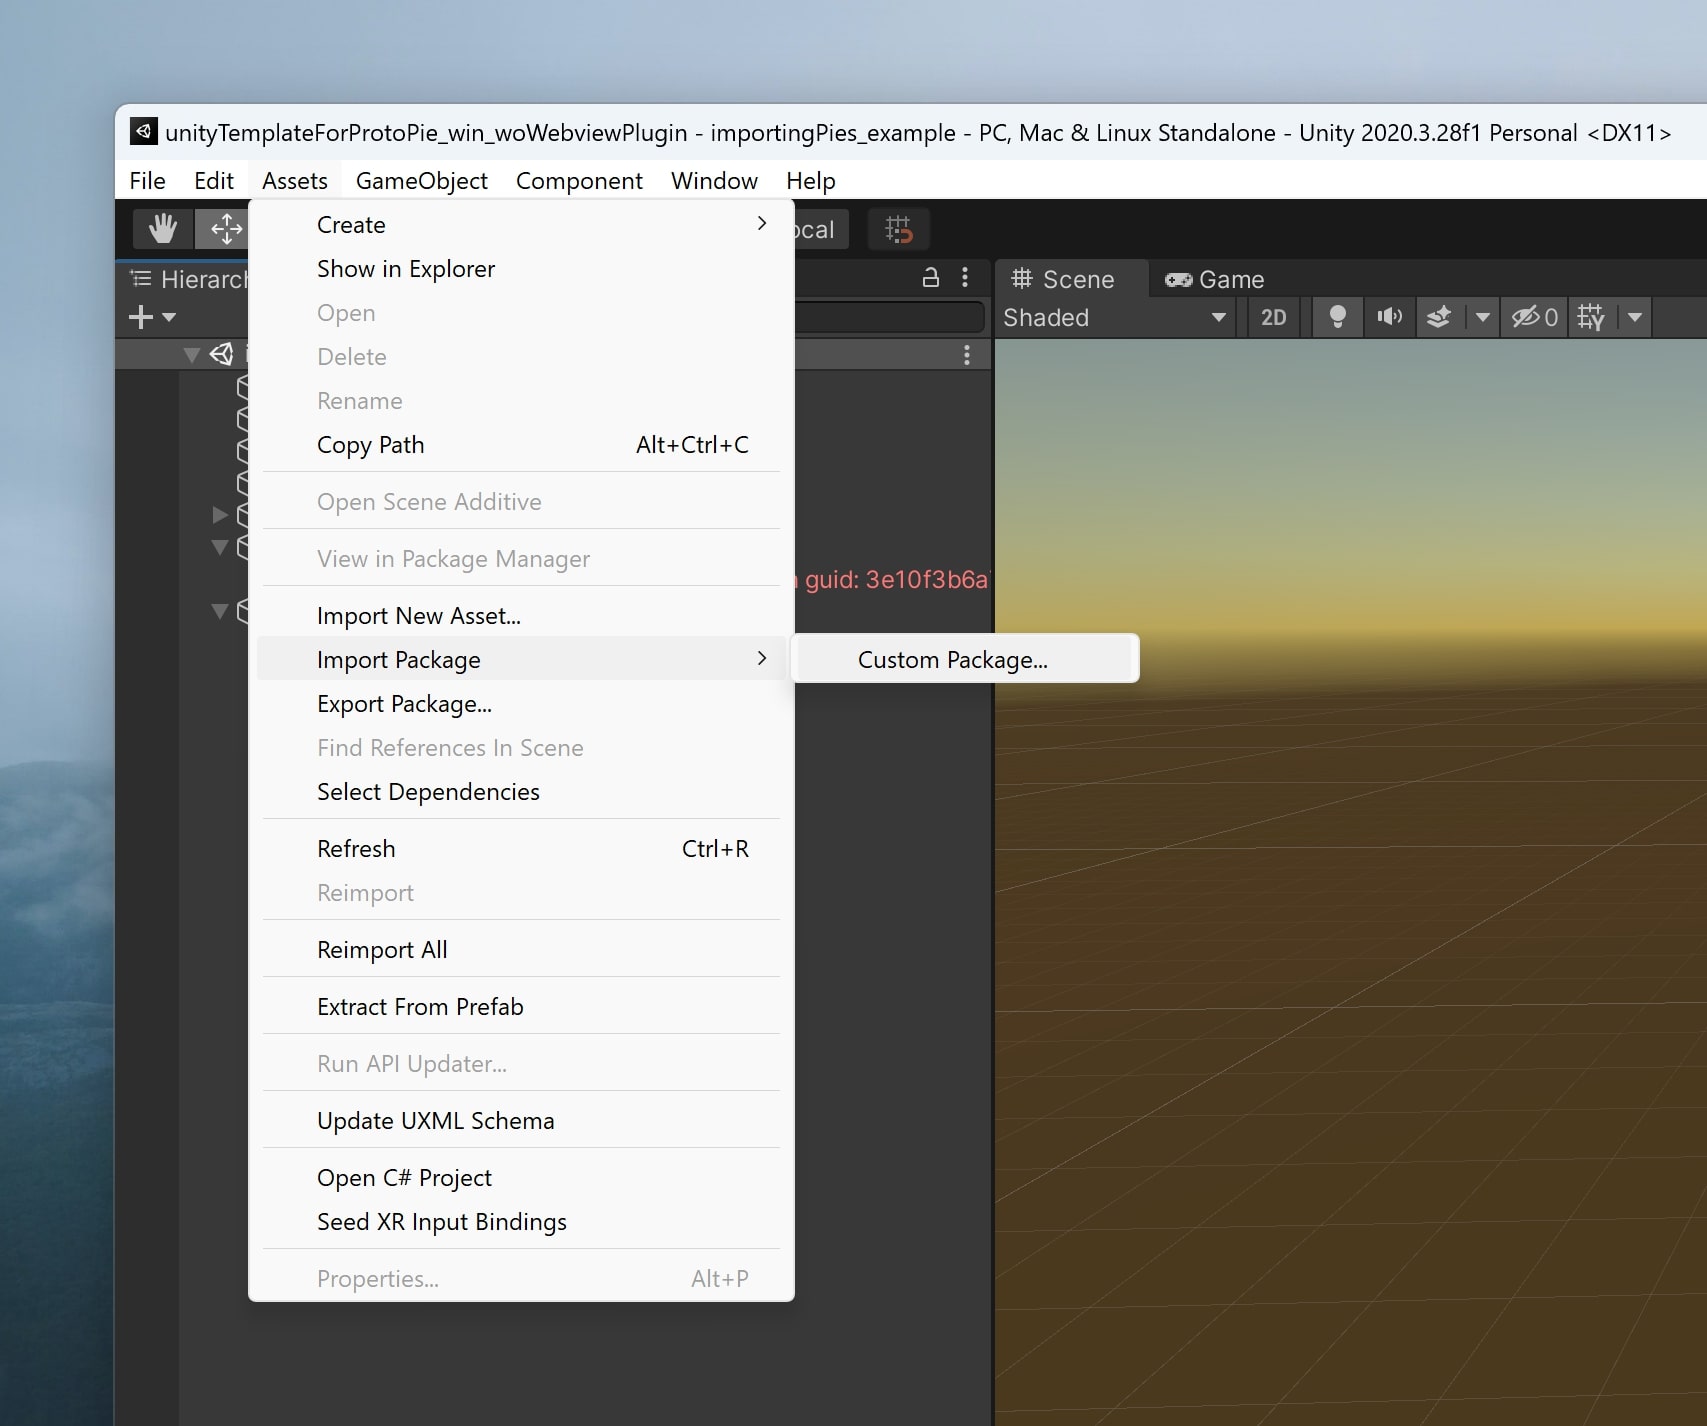
- Locate the Vuplex plugin that you downloaded from the official website and open it.
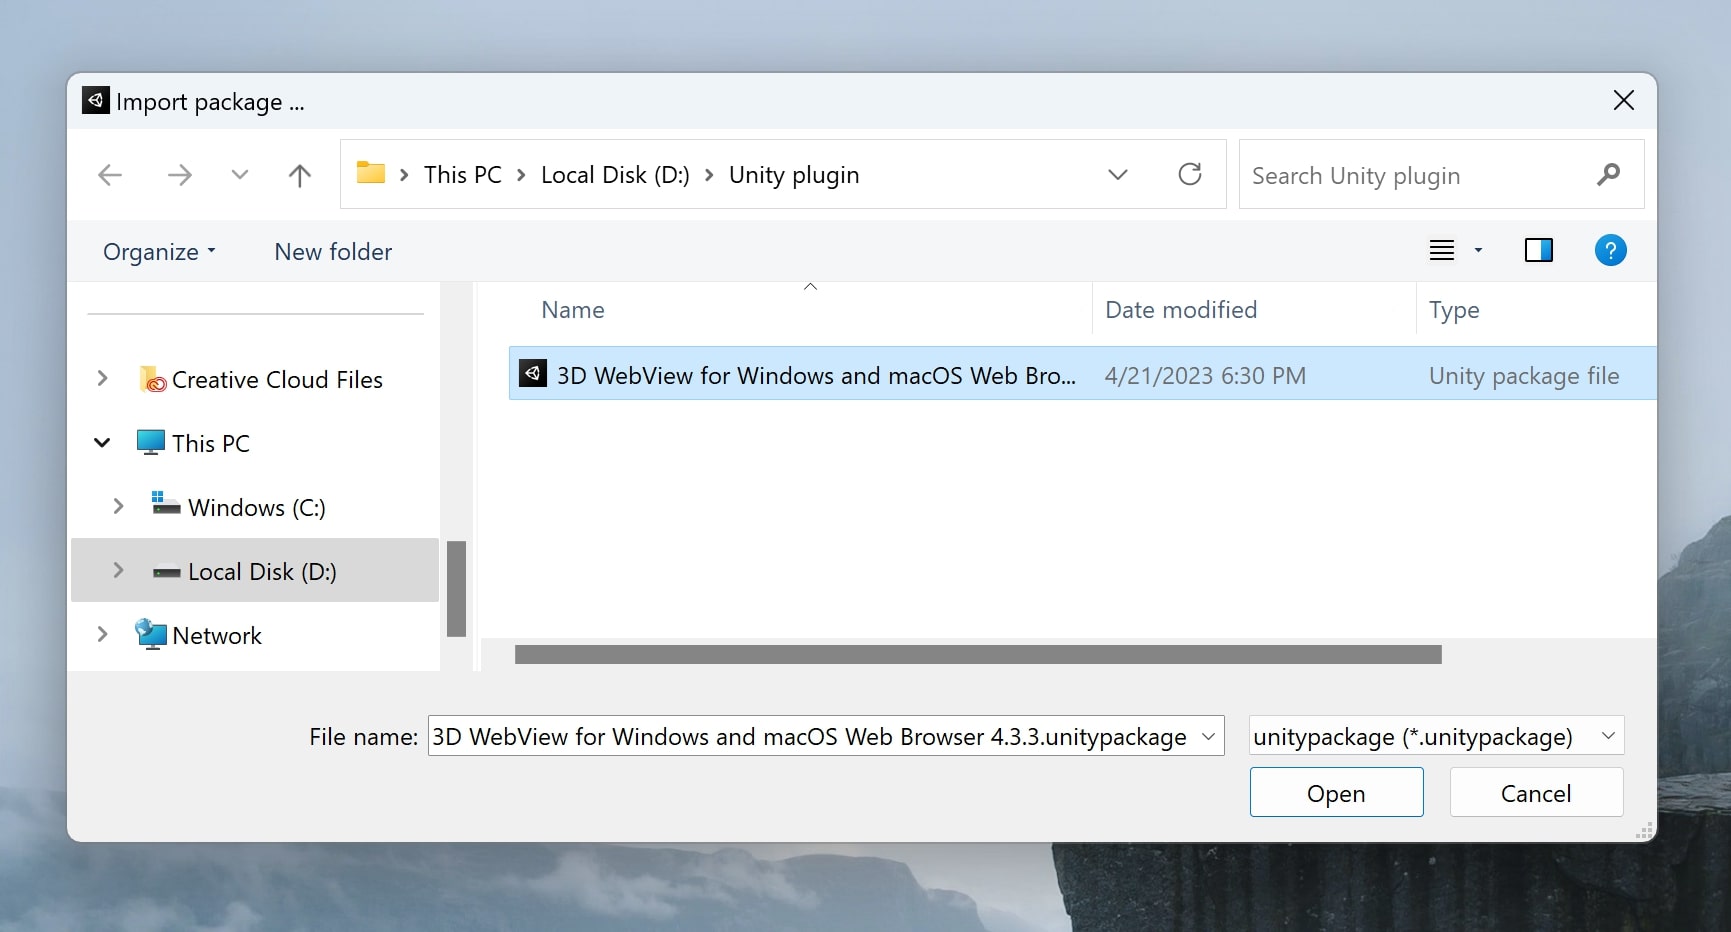
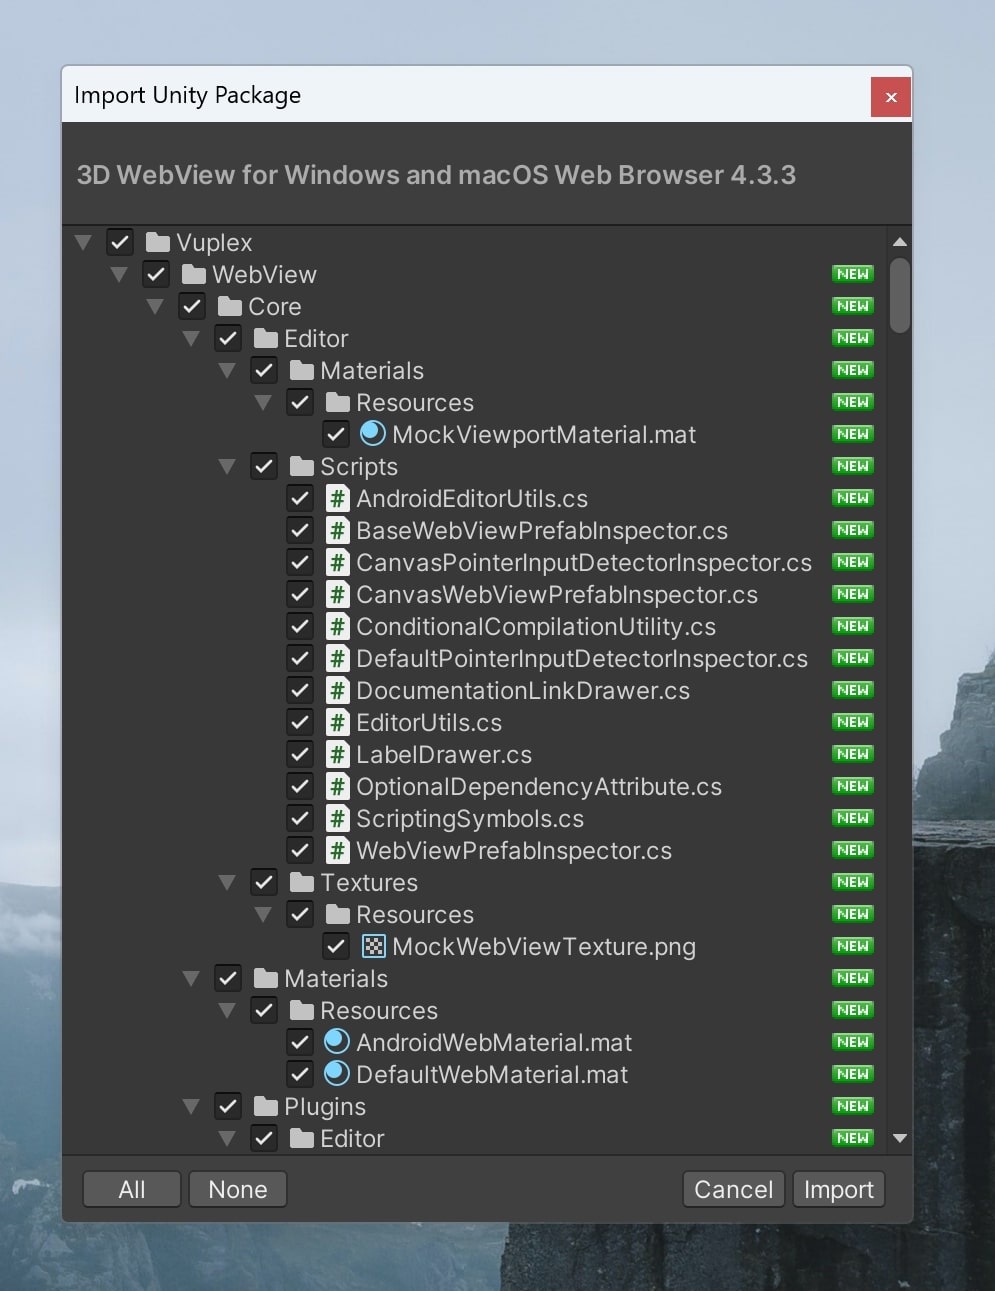
- Once you have located the Vuplex plug-in, click on "Import" at the bottom right-hand corner of the screen.
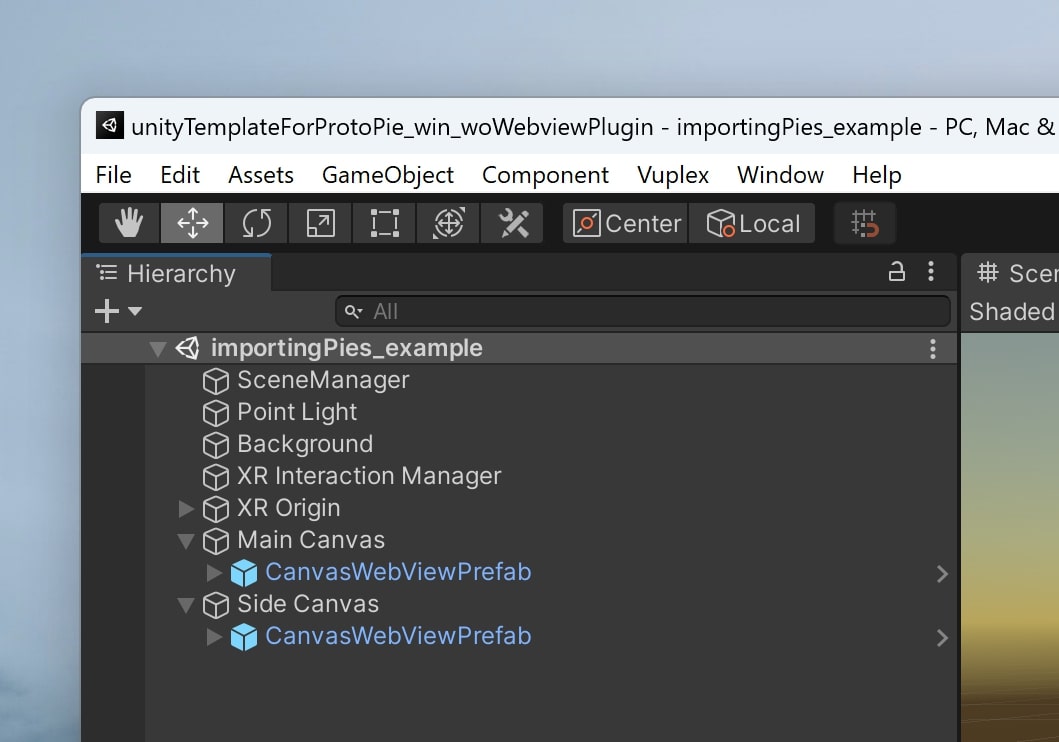
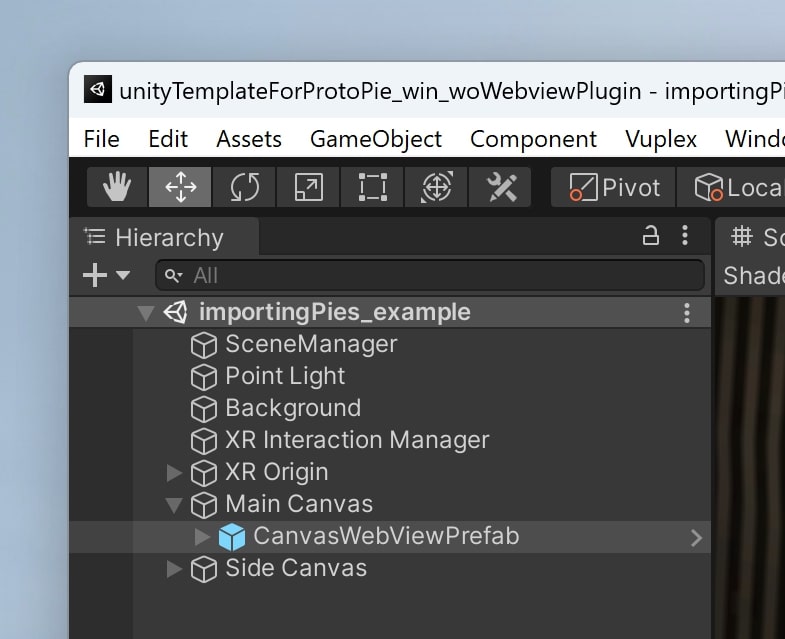
- After successfully loading the plug-in (.unitypackage), you should be able to see the CanvasWebViewPrefab objects in blue within the project. This means the package has been successfully imported.
Load Your Prototypes into Unity
- Drag or import your prototypes into ProtoPie Connect. Below are the testing prototypes used in the video guide
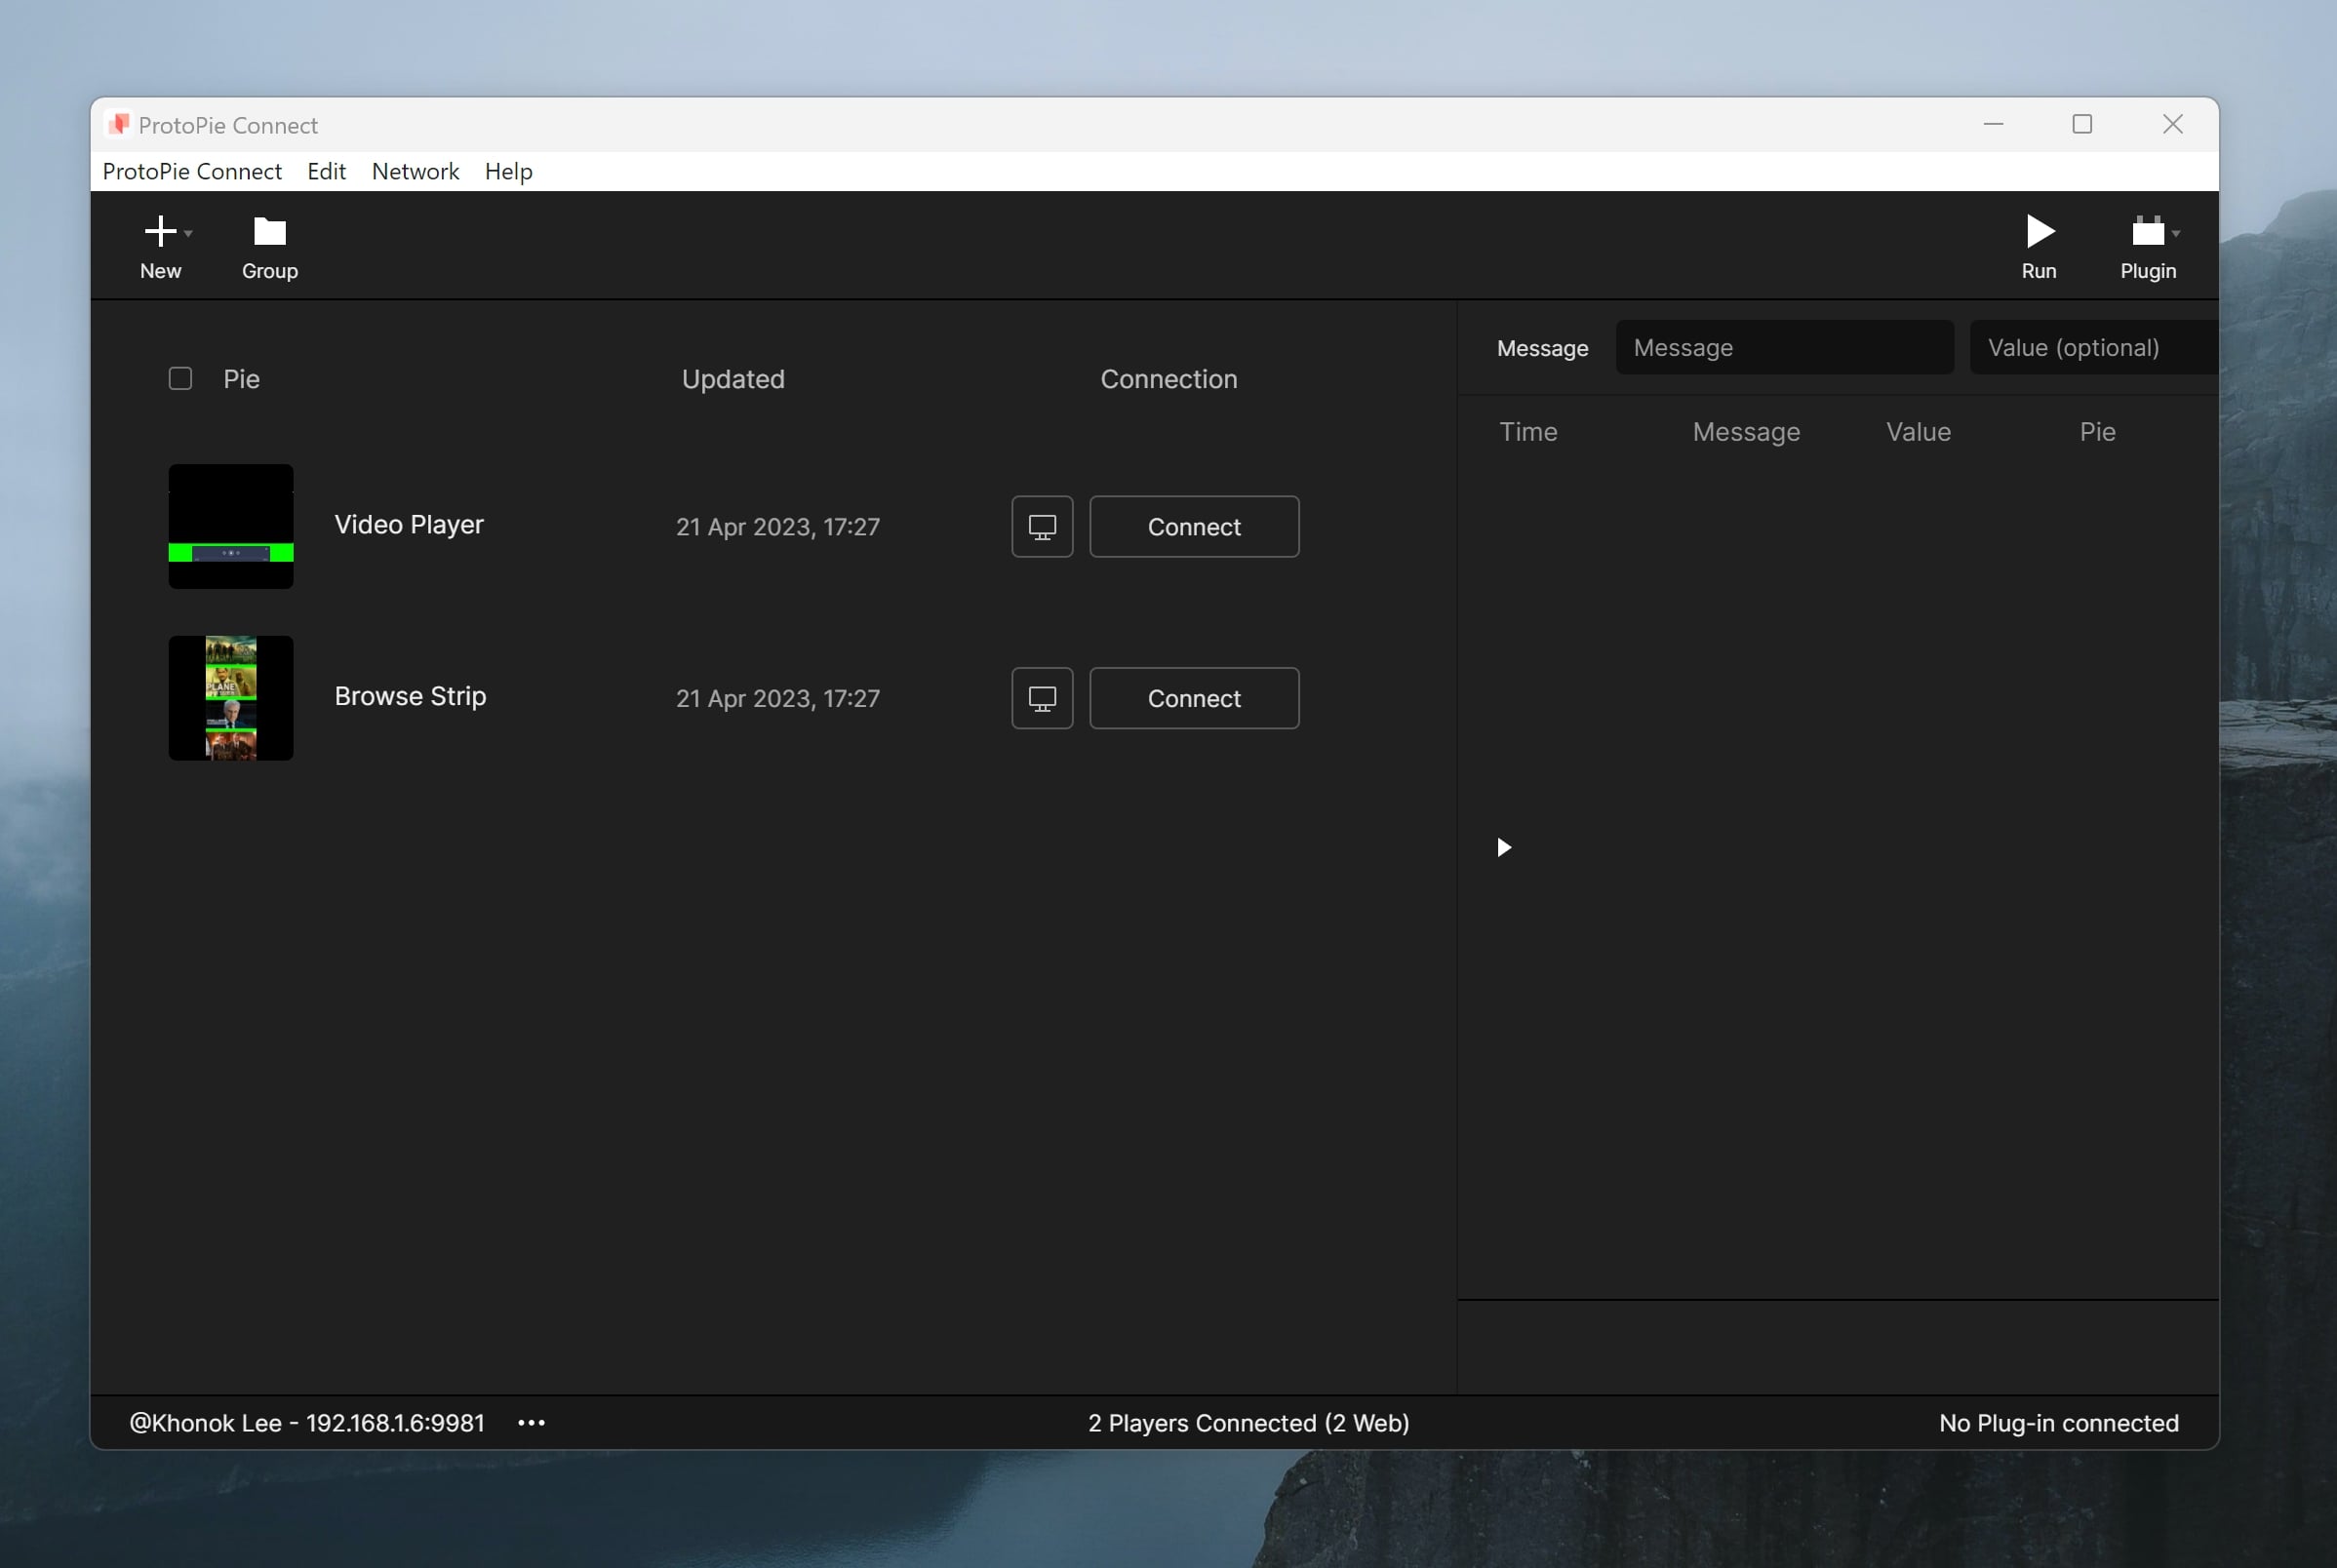
- For each prototype, open it in your browser by clicking the monitor button next to your prototype.

- To make the webview background transparent, you'll need to find the URL of your prototype first. Then, simply add "&bg=transparent" at the end of the URL. This applies to both local and ProtoPie Cloud URLs. For example:
- Your original URL:
localhost:9981/pie?pieid=2&name=Video%20Player - Your modified URL:
localhost:9981/pie?pieid=2&name=Video%20Player&bg=transparent

- Go back to Unity. From the Hierarchy window, locate Main Canvas > CanvasWebViewPrefab.
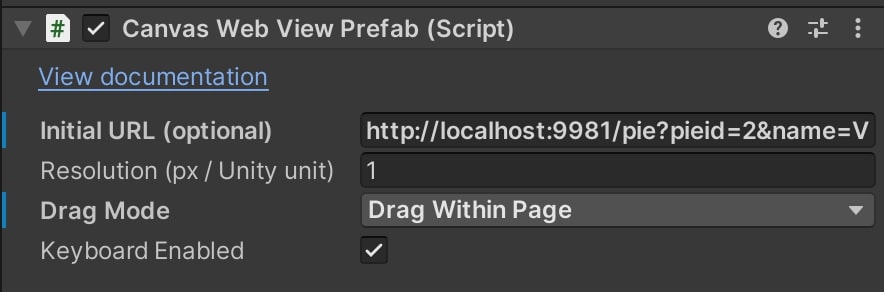
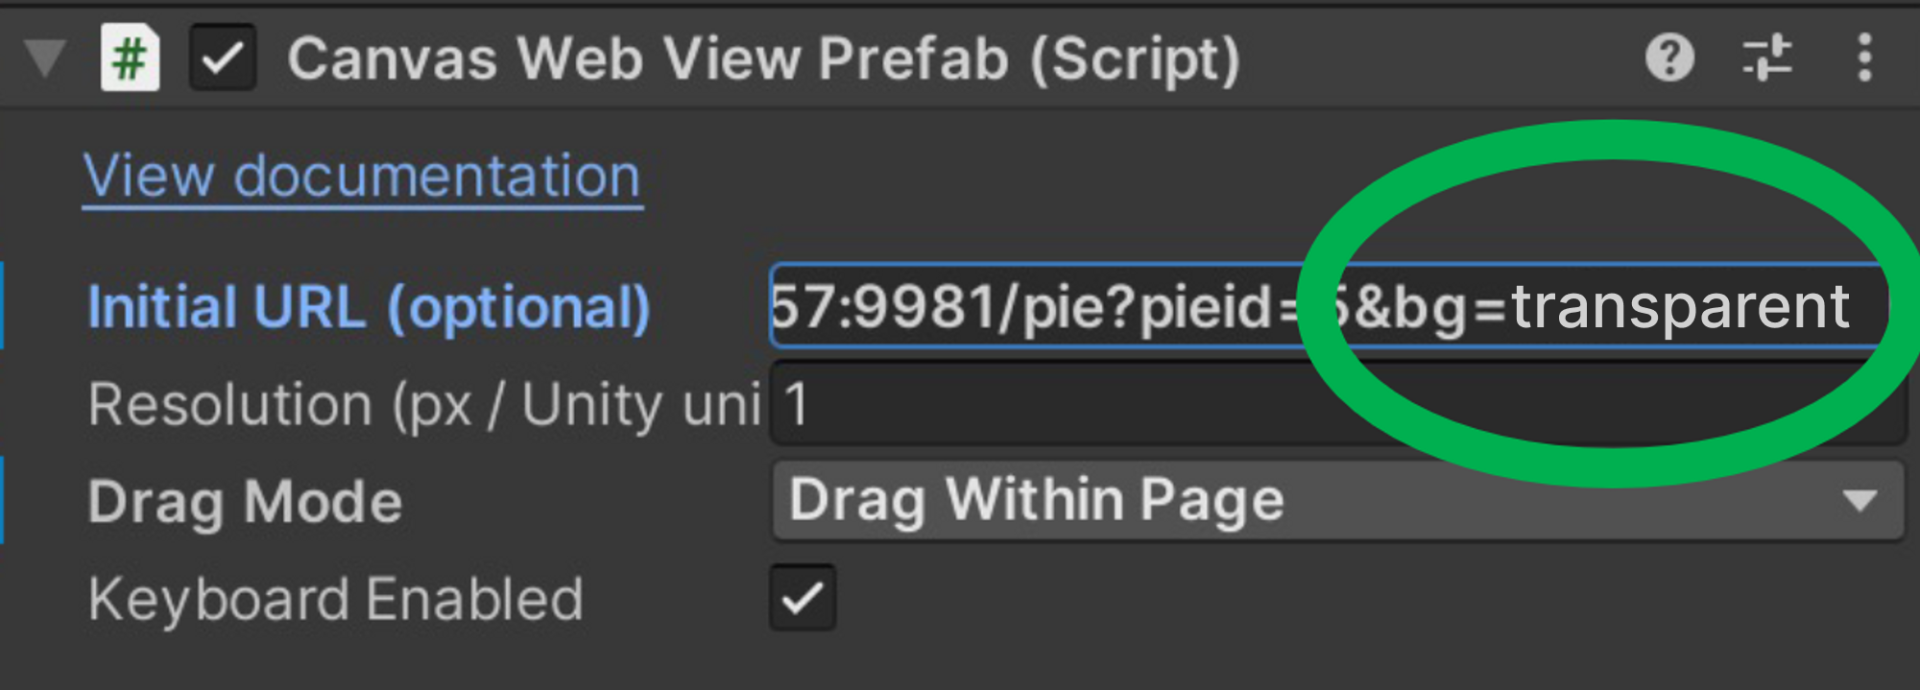
- From the Inspector Window, find Initial URL (optional). Paste here the URL just copied.
- At this point, the template is ready to be launched. Simply click on the "Play" button and use your Quest headset to interact with the project.
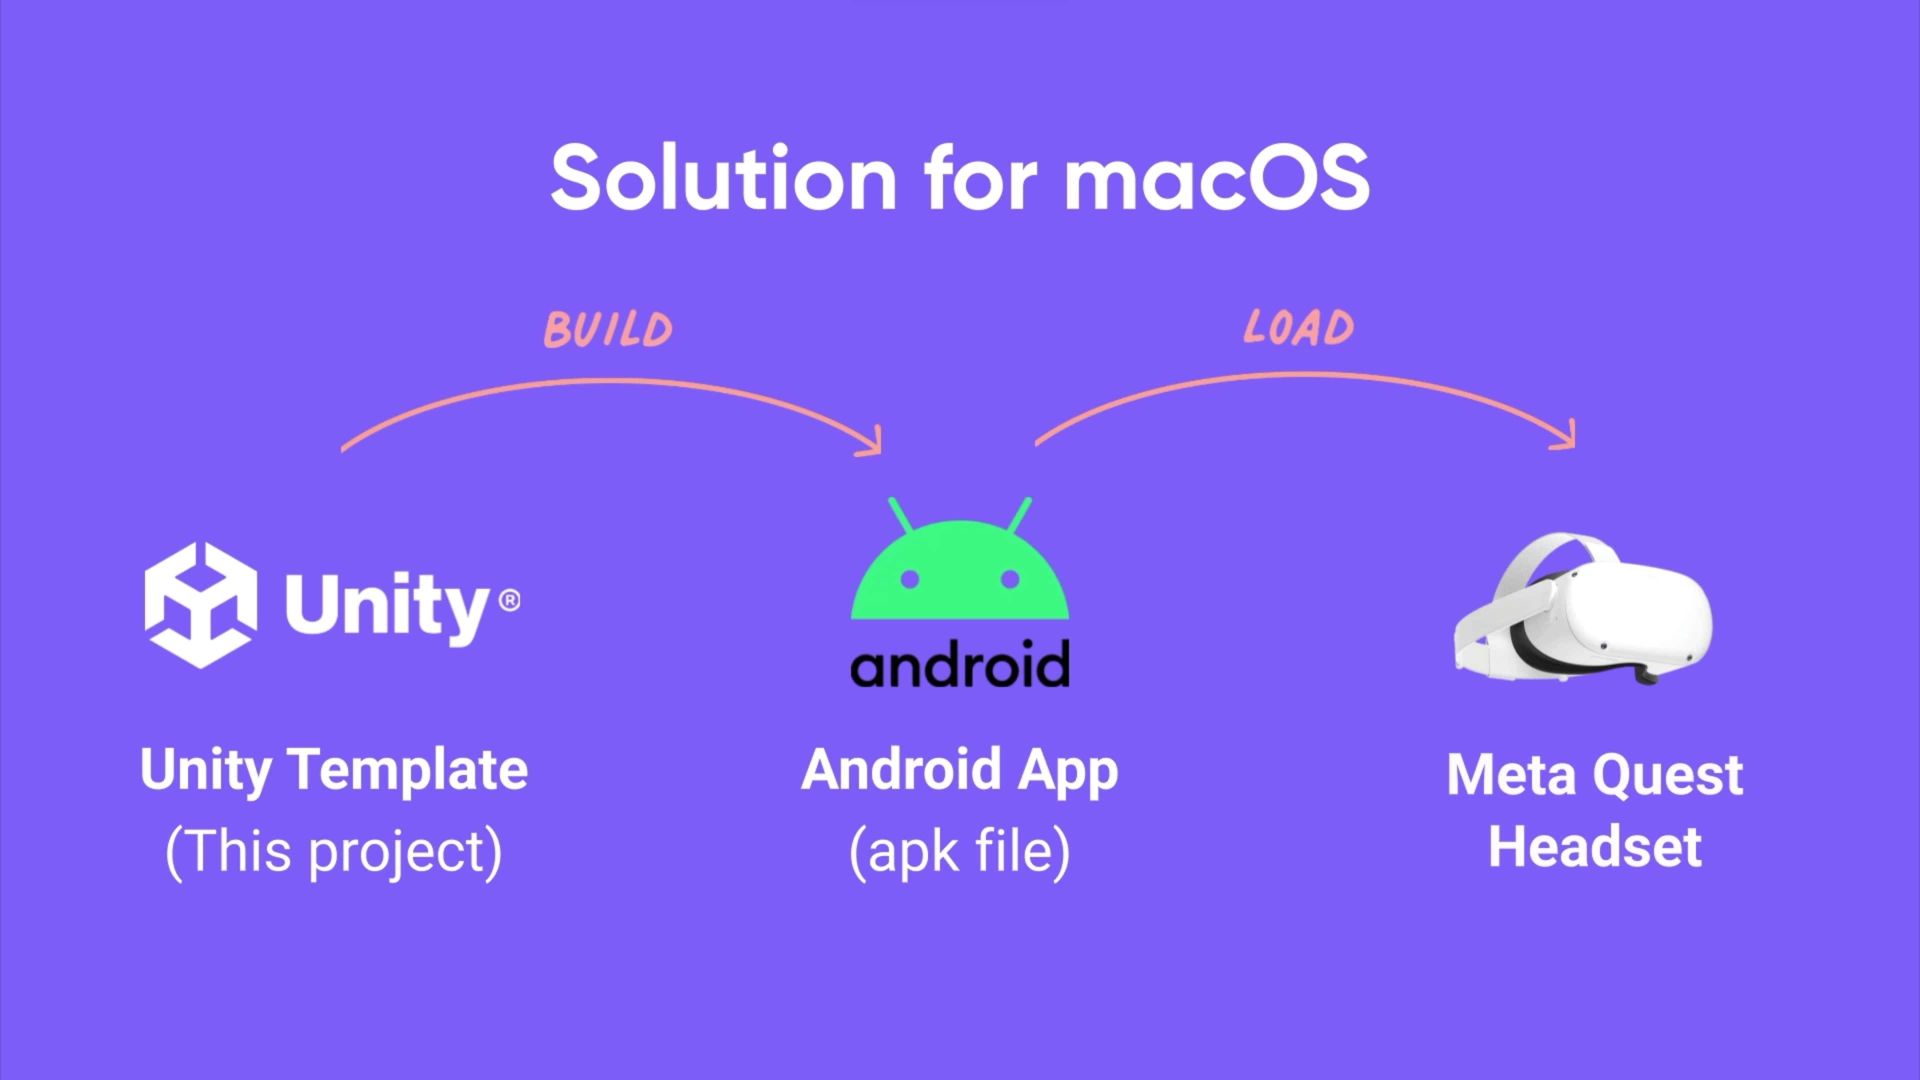
Build Android Apps From the Template and Load It Onto Quest
- Open ProtoPie Connect. At the bottom of the window (next to your username), find your local IP address.
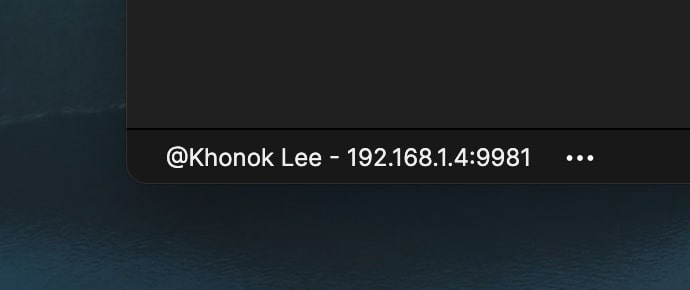
- With the prototypes open in the browser, replace "localhost" in your URL with your actual IP address. For example,
- Your original URL:
http://localhost:9981/pie?pieid=2 - Your revised URL:
http://192.168.1.4:9981/pie?pieid=2
Please avoid using "localhost" for the URL when testing the app, as it will not work properly on a different machine. Specifically, when running the app on the Quest headset, the app is not running on the local machine (e.g., a Mac) where ProtoPie Connect is running.
- Append the command &bg=transparent at the end of the URL. For example:
- http://192.168.1.4:9981/pie?pieid=2&bg=transparent
- Go back to Unity. From the Hierarchy window, locate Main Canvas > CanvasWebViewPrefab.
- From the Inspector Window, find Initial URL (optional). Paste here the revised URL.
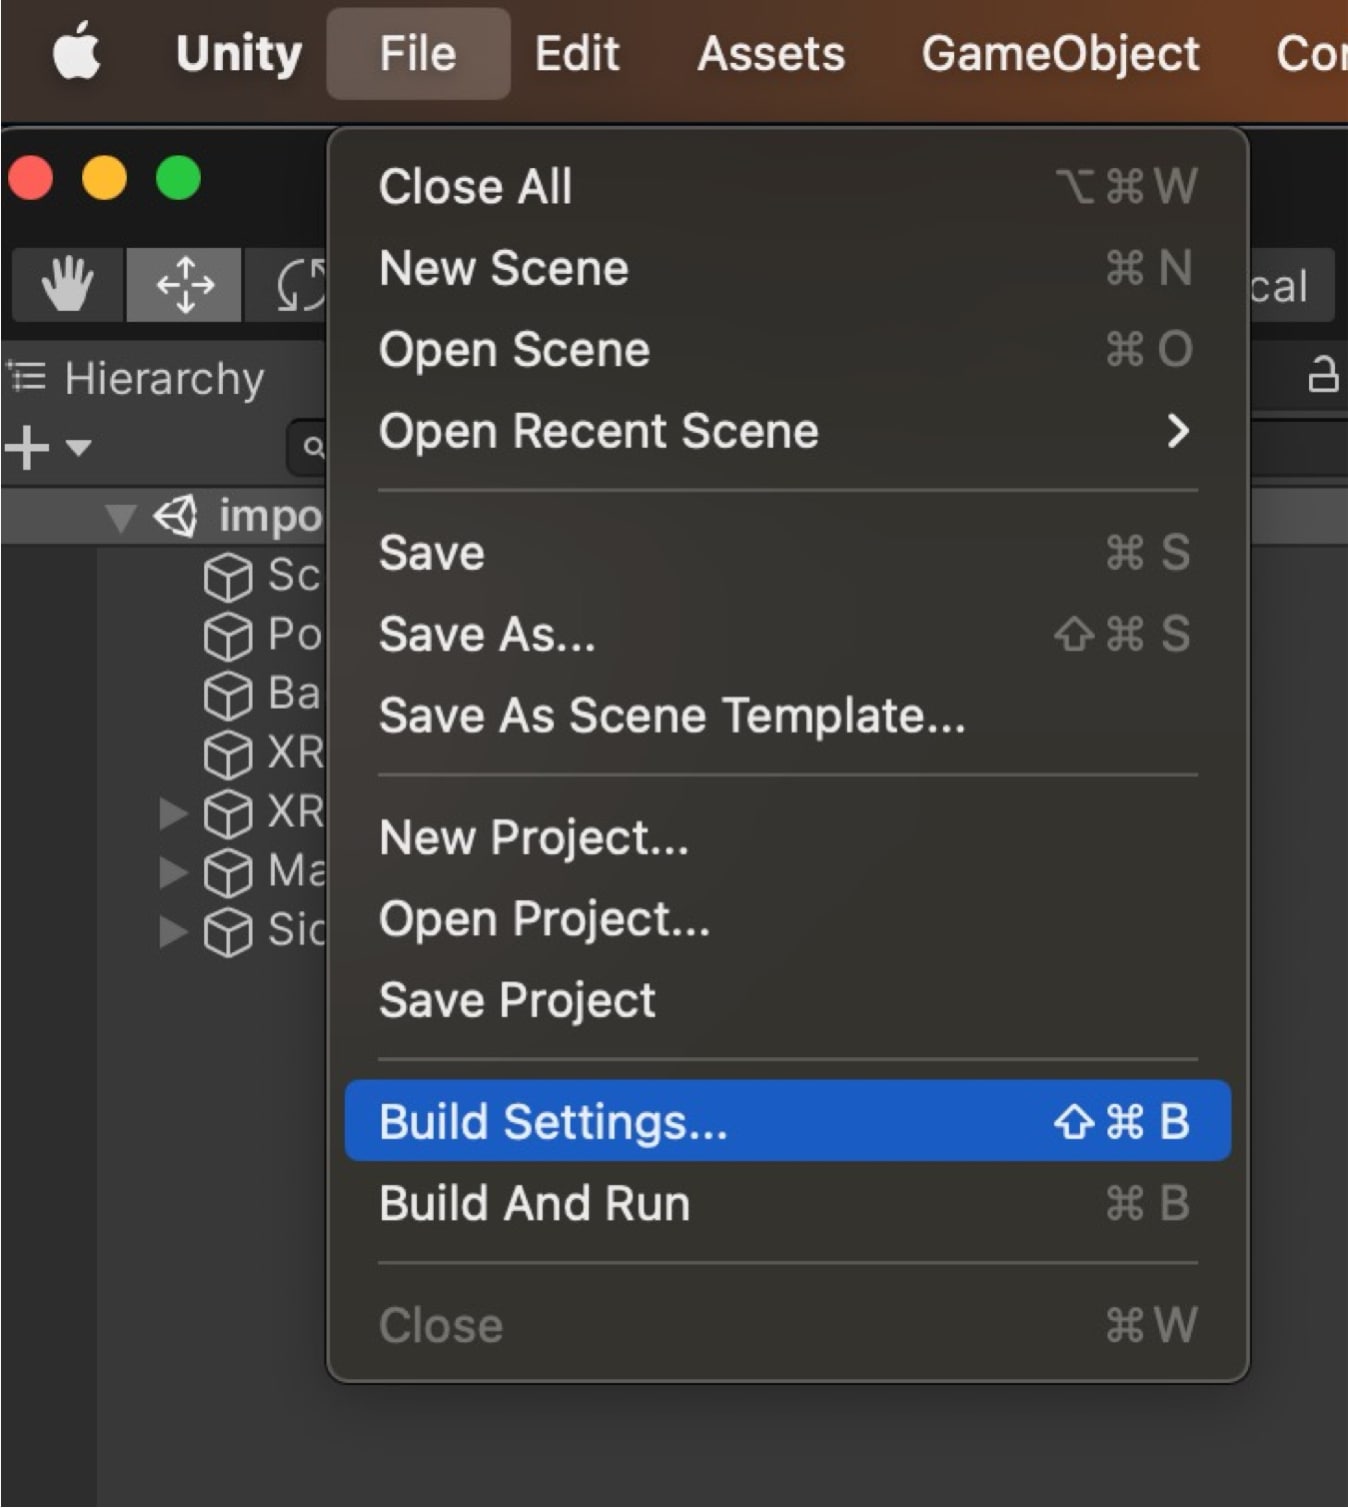
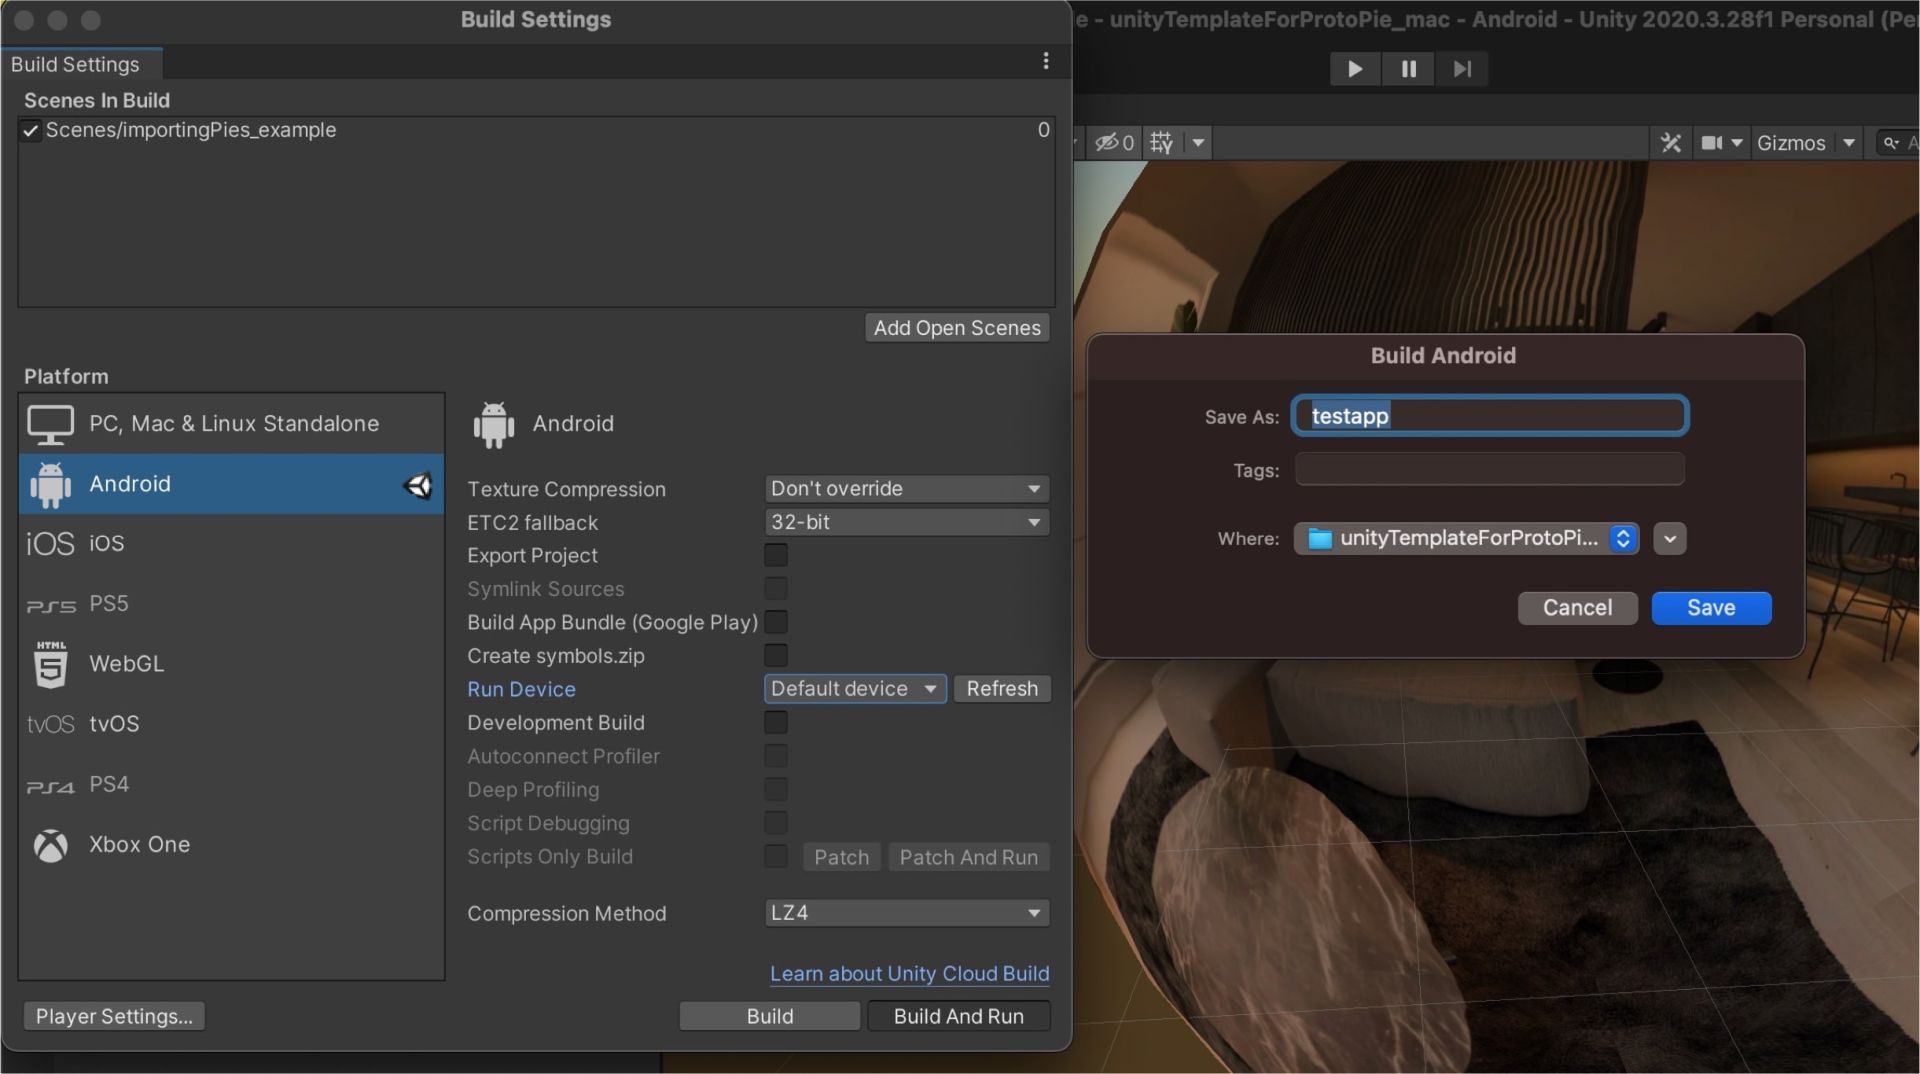
- Then, save your Unity project and navigate to File > Build Settings...
- Select Android in the side menu. If this is your first time running the program, you may need to download the Android module.
- Connect your headset to your device. Upon connecting your headset to a Mac or PC via USB, please ensure to select the "Allow" option when prompted with the window seeking permission for USB debugging or data access.
- To make your Quest headset appear on the Run Device menu on your Mac, simply click the “Refresh” button after connecting.
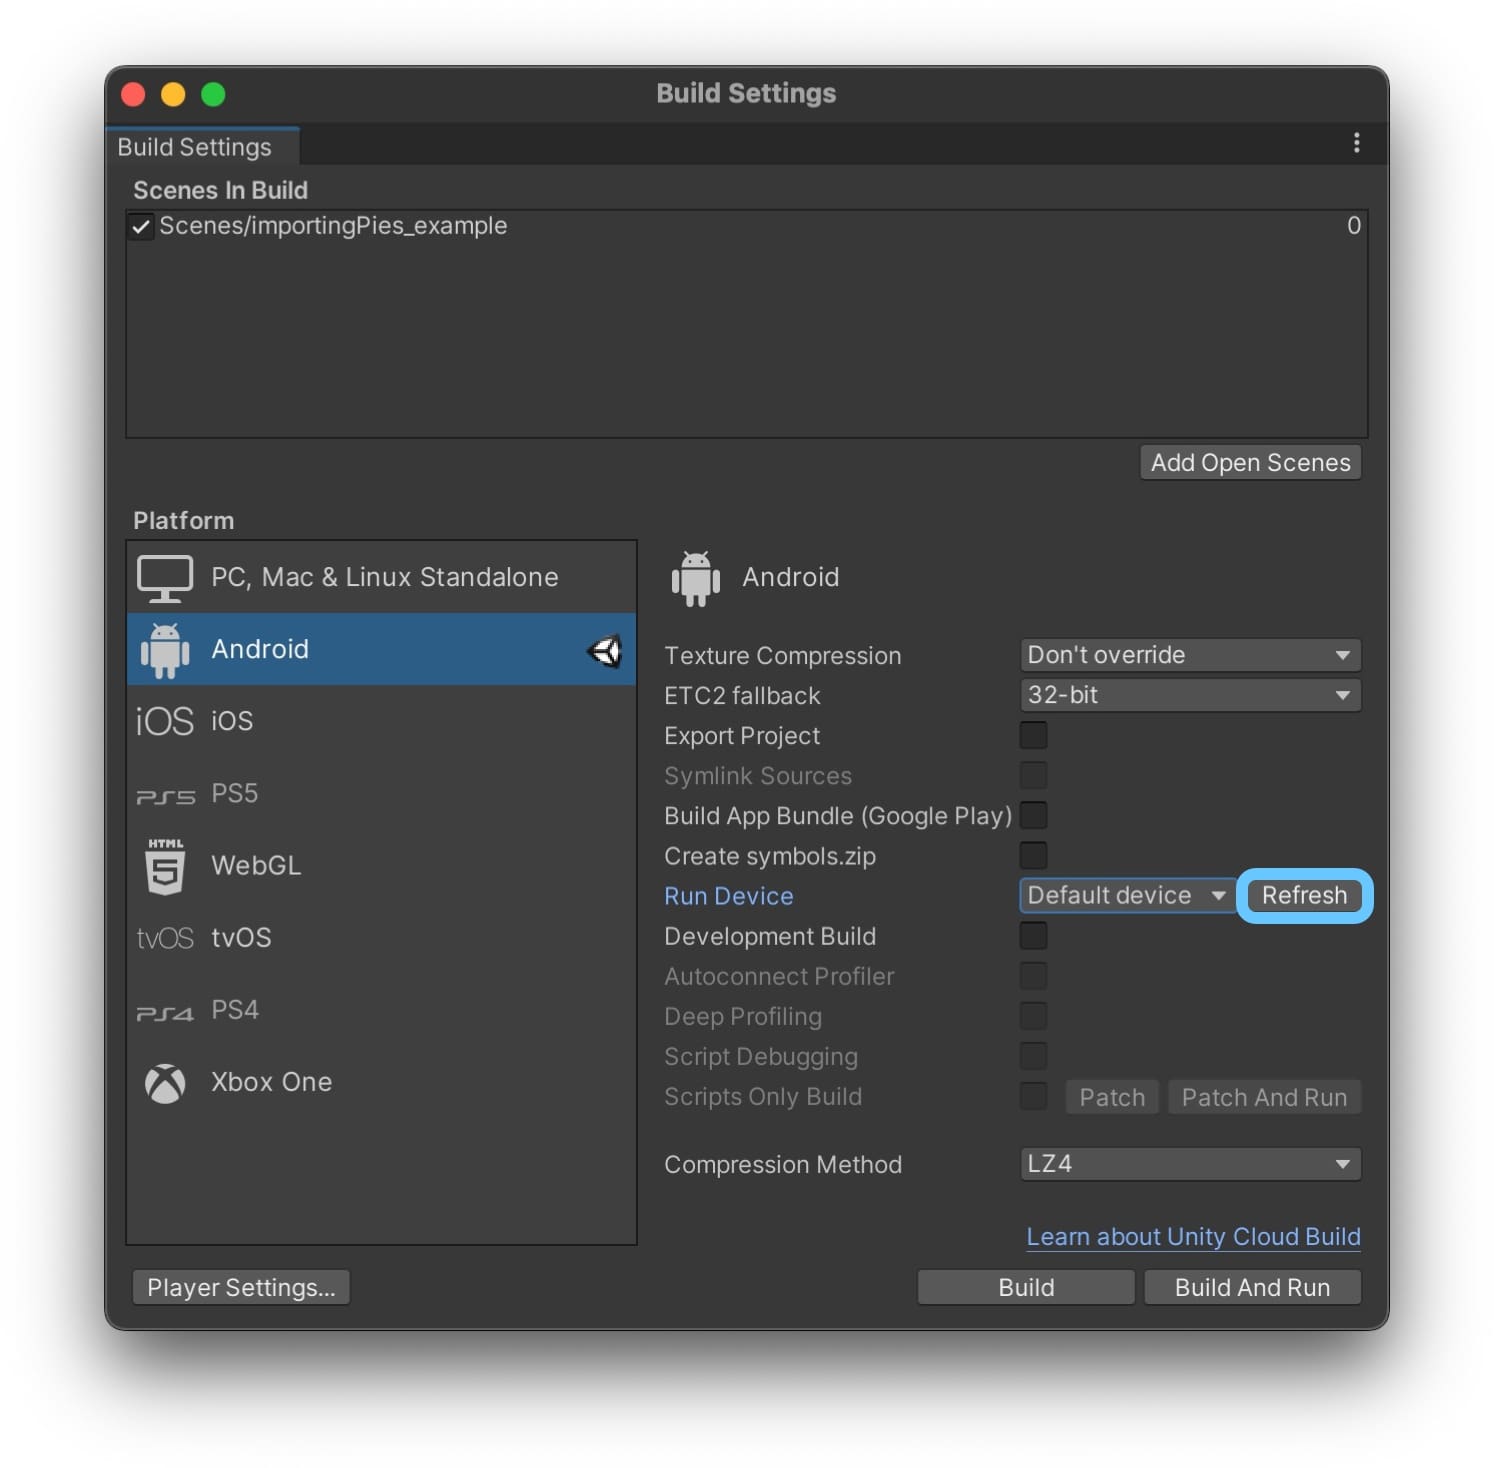
- Once the Refresh command has been executed, the list of available devices will be displayed. Select your Quest device from the list (e.g., Quest 2) to proceed.

- Choose a name for the APK file and click "Save.”
- Once the building process has been successfully completed, you will be able to immediately access the file on your Quest headset.